
Buyer's Guide
Best Golf Simulator Impact Screens: What I Learned After Buying Three of Them
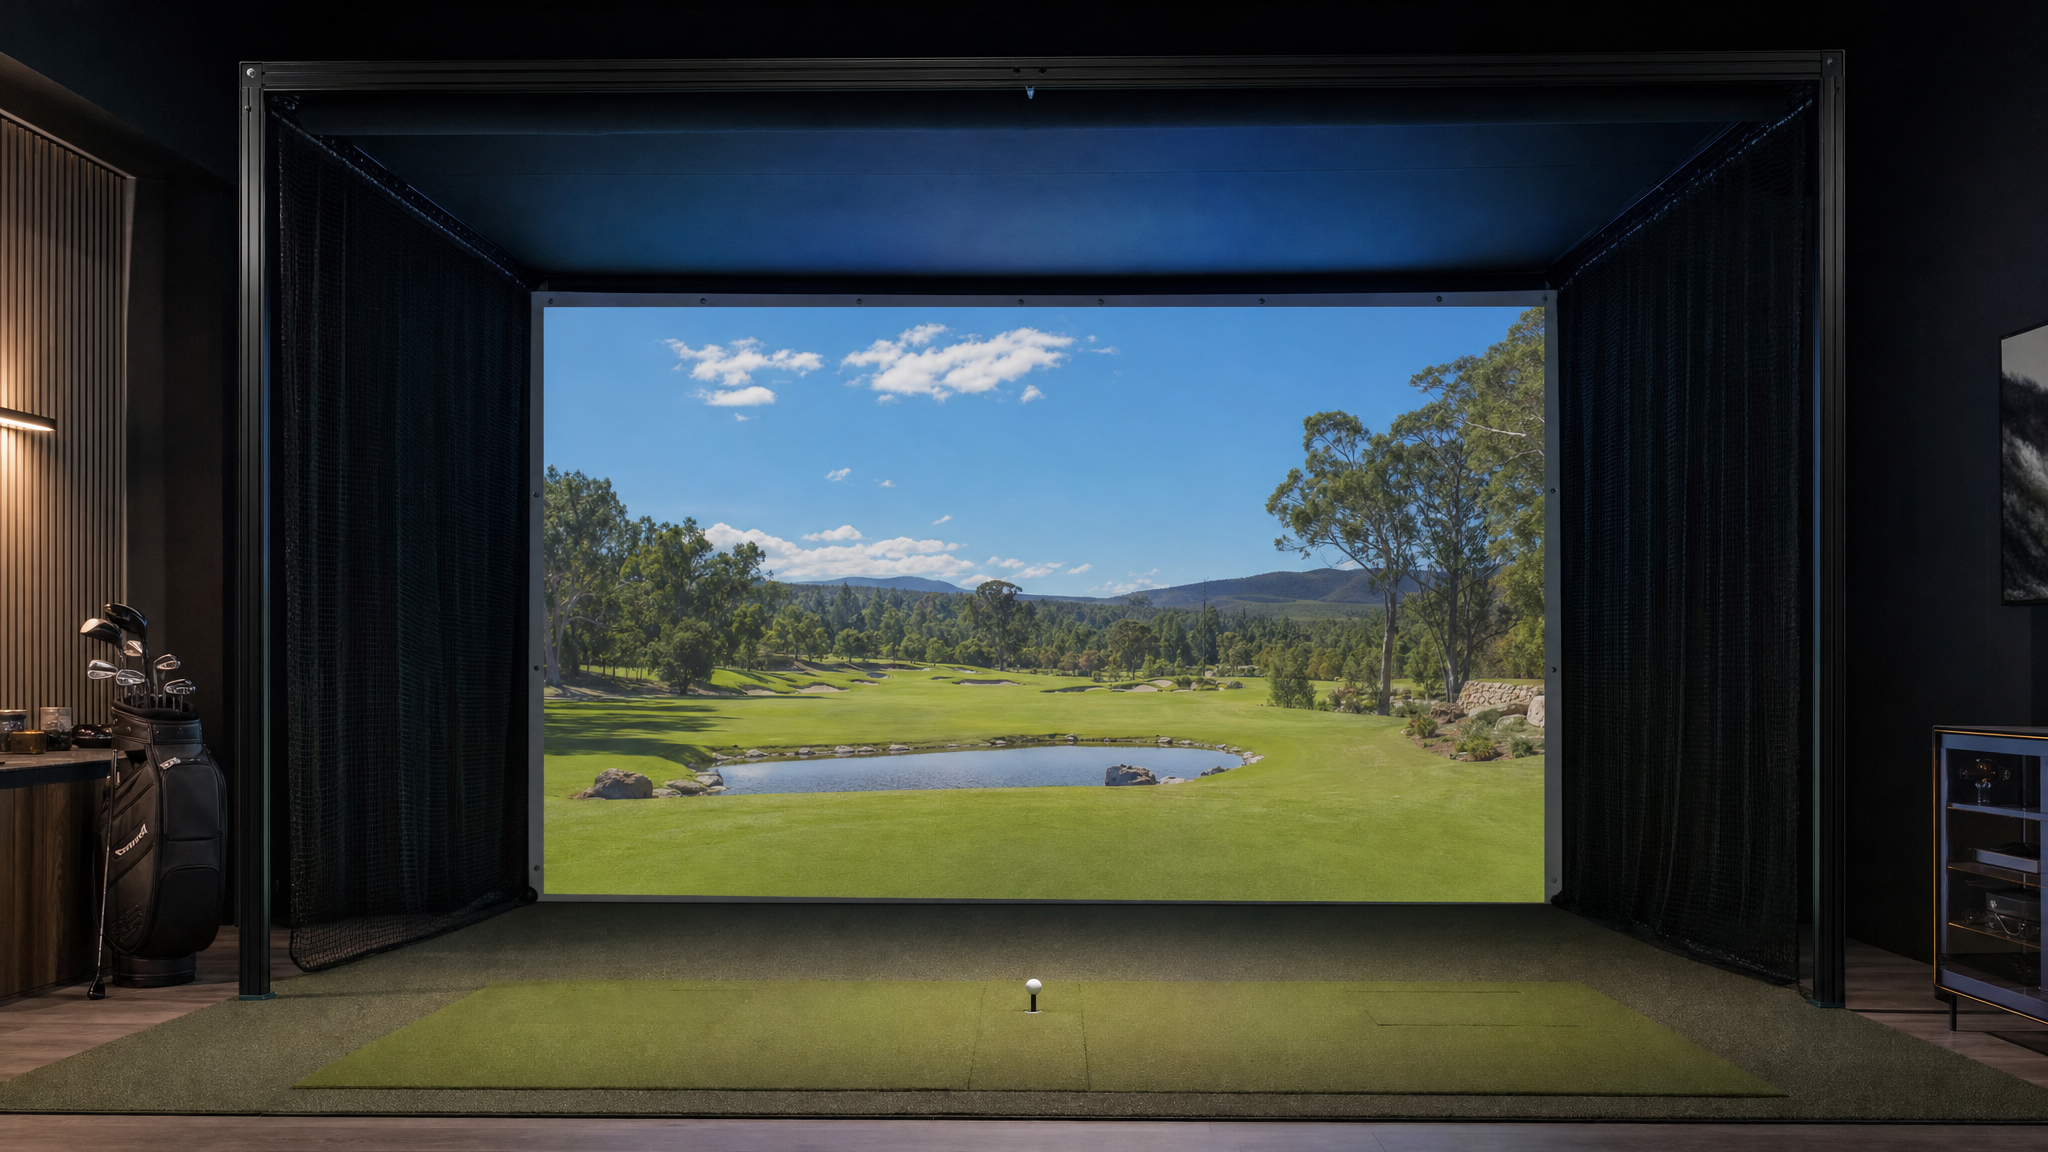
You don't need to spend a fortune on a screen, but you need to spend something. Here's what I've learned after going through three of them.
The first screen I bought was a $99 budget option I found on Amazon. It lasted six months of regular use before the stitching started separating at the corners and the surface developed small tears around the center strike zone. The image quality was also terrible — washed out, uneven brightness, hot spots under the projector. I replaced it. The second screen was better but still not quite right. By the third, I finally understood what actually matters in an impact screen and stopped guessing.
This guide is what I wish I'd had before I spent money on the wrong things. If you're building a home golf simulator, the screen is one of the most consequential decisions you'll make — more consequential than most buyers realize until they're deep into their build.
What to Look For in an Impact Screen
Material Weight and Weave Density
Impact screens are measured in grams per square meter (GSM). Higher GSM means more material, which generally means more durability and better impact absorption. Budget screens run 300–450 GSM. Mid-tier runs 500–650 GSM. Premium screens hit 700+ GSM with reinforced weave structures designed specifically for repeated impact in the same zones.
Weave density — how tightly the fibers are packed — affects both impact longevity and image quality. A tighter weave diffuses projector light more evenly and reduces hot spots. Loose weaves can create visible texture in the projected image, especially noticeable with darker course environments.
For regular use (5+ sessions per week), don't go below 500 GSM. For occasional use (1–2 sessions weekly), a 400 GSM screen from a reputable brand will hold up fine.
Stitch Density at the Edges
This is where budget screens fail first. The edge stitching — where the screen material meets the grommets or attachment points — takes enormous stress every time you pull the screen taut in its frame. Low-cost screens use minimal stitching that separates under tension over time.
Look for: triple-stitched perimeters, reinforced grommet zones (not just a hole punched through the material), and hem tape backing at the edges. Any screen that can't describe its edge construction in those terms is a screen that will fail early.
Brightness and Color Accuracy for Projectors
Not all impact screen materials play well with projectors. The screen needs to be bright enough to reflect projector light clearly, but without creating hot spots (areas of uneven brightness where the projector beam hits directly). It also needs to reproduce color accurately — washed-out greens and muddy fairways make simulator golf significantly less enjoyable.
White screens with tight, consistent weaves perform best with standard short-throw projectors. Off-white or gray screens can reduce hot spots in some setups but typically require brighter projectors to maintain image brightness. If you're using a projector under 2,000 lumens, stick with a white screen.
Size Guide: Don't Go Too Small
The most common mistake I see in home builds is buying a screen that's just barely big enough. Here's what you actually need:
- Minimum for irons (7-iron and shorter): 9 ft wide × 7 ft tall
- Minimum for full bag including drivers: 10 ft wide × 8.5 ft tall
- Comfortable full-bag setup: 12 ft wide × 9 ft tall
The driver minimum is higher than people expect because driver shots with any significant mis-hit angle will track toward the edges of the screen. Hitting driver into a 9×7 screen will give you a lot of near-misses on the corners. It's frustrating and messes with your practice.
Your ceiling height also matters: the screen height you can use is limited to what you can mount. A 9 ft ceiling doesn't mean you can use a 9 ft screen — the frame hardware takes 6–12 inches at the top, and you need clearance for full swing follow-through below the screen. Practically, a 9 ft ceiling supports a maximum 8 ft screen height comfortably.
DIY vs. Pre-Built Frames
This is a real decision with meaningful trade-offs on both sides.
DIY PVC or aluminum frame: Lower cost, fully custom dimensions, takes an afternoon to build with basic tools. Carl's Place and similar suppliers sell screen material by the foot and provide frame construction guides. A solid DIY setup for a 10×8.5 ft screen might run $300–$600 total including material and frame hardware. The downside: if your cuts aren't square, your screen won't hang flat, and you'll have hot spots and image distortion.
Pre-built enclosure systems: Shop Indoor Golf and similar suppliers offer complete enclosure kits with integrated screen mounting, side barriers, ceiling baffles, and proper screen tensioning built in. You pay more — $600–$1,500+ for a quality pre-built — but the setup is faster, the screen tension is handled correctly, and the image quality is typically better because the screen is mounted the way it was designed to be mounted.
My honest take: if you have the patience and basic woodworking ability, DIY is great and saves real money. If you just want it to work correctly the first time, pre-built is worth the premium.
The Best Impact Screens: Our Picks
Carl's Place DIY Impact Screen — Best Overall for DIY Builders
Price Range
$199–$499
Best For
DIY frame builds
Image Quality
Excellent
Carl's Place is the most popular impact screen brand in the DIY golf simulator community, and for good reason. Their woven polyester screens have earned a reputation for consistent image quality and durability that outlasts the price point. The material diffuses projector light evenly with minimal hot spots, colors reproduce accurately, and the edge construction holds up to the stress of being pulled taut in a frame.
The company sells both raw screen material (by the yard) and complete screen panels in standard sizes. The DIY approach works well here because Carl's Place provides detailed documentation on frame construction — including recommended PVC or aluminum pipe sizing, connector types, and tensioning methods. Their forums are active and full of real user builds you can reference.
Durability: I've seen Carl's Place screens still performing well after three or four years of regular use when properly tensioned and maintained. The center strike zone will show wear over time — that's unavoidable with any impact screen — but the material holds rather than tears.
Shop Indoor Golf Impact Screen — Best Pre-Framed Option
Price Range
$299–$699
Best For
Complete enclosure builds
Setup
Pre-framed, same-day setup
Shop Indoor Golf offers both complete enclosure systems and individual screen panels with pre-installed grommets designed for their frame hardware. If you're buying a full enclosure rather than just a screen, SIG is one of the best-organized options in this price tier.
Their impact screens are designed to work with their ceiling-mount and floor-mount frame systems, which means the tensioning geometry is worked out for you. Setup is significantly faster than a true DIY build, and the results are more consistent because there's no guesswork in how the screen should hang.
Image quality is very good — on par with Carl's Place for color accuracy and brightness uniformity. SIG screens work well with standard short-throw projectors in the 2,500–4,000 lumen range without additional ambient light control.
Cimarron Sports Net — Best Budget Option
Price Range
$149–$399
Best For
Budget builds, practice nets
Image Quality
Moderate
Cimarron is a budget option that works better than its price suggests for pure ball-stopping use. If you're building a launch monitor practice setup — where you care about hitting and reading data, not projecting course imagery — a Cimarron net is a legitimate choice. It's designed more as a practice net than a true impact screen, so structural integrity for repeated impacts is solid.
Where Cimarron falls short is image quality. The material isn't optimized for projector use. If you plan to add a projector for simulator play, expect some light diffusion inconsistencies and a less vivid image than a Carl's Place or SIG screen. It's workable, not ideal.
Best use case: a golfer who wants to practice swings and read launch monitor data without a full simulator setup, or someone starting out who plans to upgrade the screen later once they've committed to the full build.
TrueStrike Impact Screen — Best Premium Feel
Price Range
$399–$799
Best For
Premium setups, high use
Durability
Best in class
TrueStrike makes the most premium feel impact screen in this price range. The material has a slightly different texture than the woven polyester screens from Carl's Place and SIG — it feels more substantial at impact, with less trampoline effect. For golfers who find the "bounce" of standard screens distracting or annoying, TrueStrike screens are noticeably better.
Durability is the headline claim, and it holds up. TrueStrike screens are built to absorb high-impact shots repeatedly without the center strike zone weakening as quickly as lighter materials. If you're going to be hitting 200+ shots per session regularly, the TrueStrike is worth the premium over a Carl's Place screen purely on longevity math.
Image quality is excellent. The material is bright, uniform, and plays well with both standard and short-throw projectors. Colors are vivid and accurate across the surface area without hot spots or dark edges.
Image Quality: Side-by-Side Comparison
| Screen | Brightness | Color Accuracy | Hot Spots |
|---|---|---|---|
| Carl's Place | Excellent | Excellent | Minimal |
| Shop Indoor Golf | Excellent | Very Good | Minimal |
| Cimarron | Moderate | Fair | Noticeable |
| TrueStrike | Excellent | Excellent | None |
How to Choose: The Decision Tree
Here's the simple framework I'd use if I were starting over:
- Budget under $300 and primarily need ball-stopping: Cimarron. Add a projector-compatible screen later when you commit to the full build.
- Budget $300–$600, comfortable with DIY: Carl's Place screen material + custom frame. Best image quality per dollar, especially in 10×8.5 and larger sizes.
- Budget $400–$700, want faster setup: Shop Indoor Golf pre-built enclosure. Same image quality as DIY, faster to complete, more consistent results.
- Budget $500+ and hitting constantly: TrueStrike. The longevity premium is real for high-volume users.
What Pairs With Your Screen
The screen is one piece. For a complete simulator, you also need a launch monitor and a projector that work together with your screen size. The most common setups paired with screens in this price range:
- SkyTrak+ ($2,995) — the most popular launch monitor for indoor setups with screens this size. Camera-radar hybrid, excellent software ecosystem.
- Foresight GC3 ($6,999) — three-camera system with the highest accuracy in this category. Preferred by serious golfers who want precision short-game data.
For projector pairing, see our Best Projectors for Golf Simulators guide.
The Bottom Line
Impact screens are not where you cut corners. A bad screen degrades every session — bad image, early wear, frustrating ball bounce — in ways that undermine the whole point of the build. You don't need to spend $800 on a screen, but you do need to spend something on materials and construction that can handle real golf balls hit repeatedly at the same spots.
Carl's Place is the right call for most DIY builders. Shop Indoor Golf is right if you want speed and reliability in your enclosure setup. TrueStrike is right if you're going to hit constantly and want longevity over budget optimization. Cimarron works if your primary need is ball-stopping and you're adding projector capability later.
Buy the right screen once. You'll appreciate not going through three of them like I did.